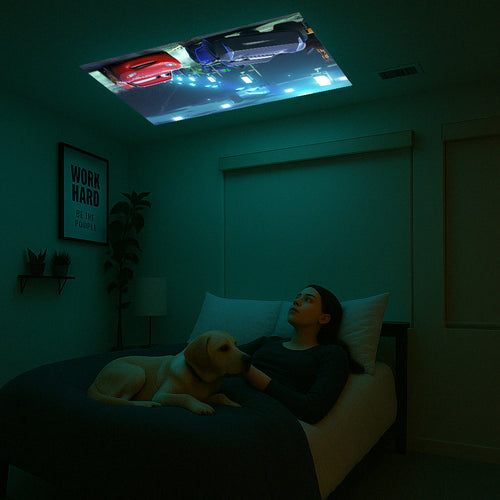

This blog explains the main causes of blurry mini projector images and provides seven actionable fixes. You'll learn how to quickly troubleshoot issues like focusing, distance, lens cleaning, resolution mismatches, keystone distortion, overheating, and when to seek professional help. Follow these steps to restore sharp, clear projection and prevent future image problems.
Understanding Why Mini Projectors Get Blurry
Before diving into solutions, it's important to understand what causes blurry images in mini projectors:
- Focus issues – The most common culprit
- Incorrect distance – Too close or too far from the screen
- Dirty lens – Dust, fingerprints, or smudges
- Resolution mismatch – Input source doesn't match projector capabilities
- Keystone distortion – Angled projection causing blur
- Heat buildup – Overheating affecting performance
- Hardware problems – Internal component issues
Solution 1: Adjust the Focus Ring
The focus ring is your first line of defense against blurry images.
How to do it:
- Locate the focus ring (usually around the lens)
- Turn slowly clockwise and counterclockwise
- Make small adjustments while projecting an image
- Stop when the image appears sharpest
- Test with text-heavy content for best results
Pro tip: Some mini projectors have electronic focus – check your remote or menu settings.
Solution 2: Optimize Projection Distance
Every projector has an optimal distance range for sharp images.
Steps to find the sweet spot:
- Check your projector's manual for recommended distance
- Start at the middle of the recommended range
- Move projector incrementally closer or farther
- Look for the distance where focus is easiest to achieve
- Mark this position for future reference
General rule: Most mini projectors work best between 3-12 feet from the screen.
Solution 3: Clean the Lens Properly
A dirty lens can make even the best projector look terrible.
Proper cleaning technique:
- Turn off and unplug the projector
- Let it cool down completely
- Use a microfiber cloth or lens cleaning tissue
- Start from center and work outward in circular motions
- For stubborn spots, use lens cleaning solution
- Never use water, alcohol, or household cleaners
Prevention tip: Store your projector in a dust-free environment and use a lens cap when not in use.
Solution 4: Check Input Resolution Settings
Resolution mismatches are a hidden cause of blur.
What to verify:
- Source device output resolution
- Projector's native resolution
- Cable quality and specifications
- Display settings on your device
Best practices:
- Match source resolution to projector's native resolution
- Use high-quality HDMI cables
- Avoid upscaling when possible
- Check aspect ratio settings
Solution 5: Correct Keystone Distortion
Keystone distortion doesn't just make images look skewed – it can also cause blur.
How to fix keystone issues:
- Position projector perpendicular to screen
- Use keystone correction in projector menu
- Adjust projector height if possible
- Consider using a projector mount for stability
- Make gradual adjustments and test frequently
Important: Digital keystone correction can reduce image quality, so physical positioning is preferred.
Solution 6: Address Overheating Problems
Heat can cause internal components to expand, affecting focus.
Cooling solutions:
- Ensure adequate ventilation around projector
- Clean air vents regularly
- Don't block exhaust ports
- Use in temperature-controlled environment
- Take breaks during extended use
- Check if internal fan is working properly
Warning signs of overheating:
- Projector becomes very hot
- Fan noise increases significantly
- Image quality degrades over time
- Automatic shutdowns occur
Solution 7: Perform Advanced Troubleshooting
When basic solutions don't work, try these advanced techniques:
Firmware updates:
- Check manufacturer's website for updates
- Follow update instructions carefully
- Ensure stable power during the update process
Factory reset:
- Access projector's menu system
- Find "Reset" or "Factory Default" option
- Confirm reset and reconfigure settings
Professional inspection:
- Internal lens alignment issues
- LCD/DLP panel problems
- Optical component wear
- Circuit board malfunctions
Prevention Tips for Long-Term Clarity
Once you've fixed the blur, keep it that way:
- Regular maintenance: Clean lens monthly
- Proper storage: Use protective case
- Stable setup: Avoid vibrations during use
- Quality sources: Use high-resolution content
- Environmental control: Minimize dust and humidity
When to Consider Professional Repair
Some blur issues require expert attention:
- Internal lens misalignment
- Damaged optical components
- Electronic focus mechanism failure
- Persistent overheating despite cleaning
- Warranty coverage available
Conclusion
Blurry images don't have to ruin your mini projector experience. By systematically working through these 7 solutions – from simple focus adjustments to advanced troubleshooting – you can restore sharp, clear images to your projector.
Start with the basics (focus, distance, and cleaning) before moving to more complex solutions. Most blur problems can be solved with these methods, saving you time and money on unnecessary repairs or replacements.
Remember, prevention is always better than cure. Regular maintenance and proper usage will keep your mini projector delivering crystal-clear images for years to come.
Ready to experience a sharper image? Browse our best mini projectors here.


